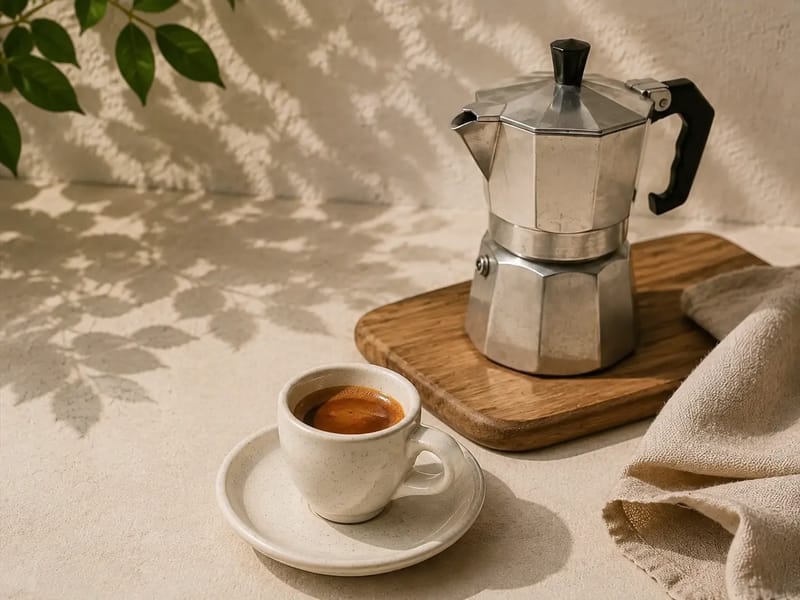
Moka Pot
A full moka pot brew guide — filling to the safety valve, grind size, heat control, when to take it off the stove and how to clean the gasket and filter plate.
6 minutes read
Jump to quick start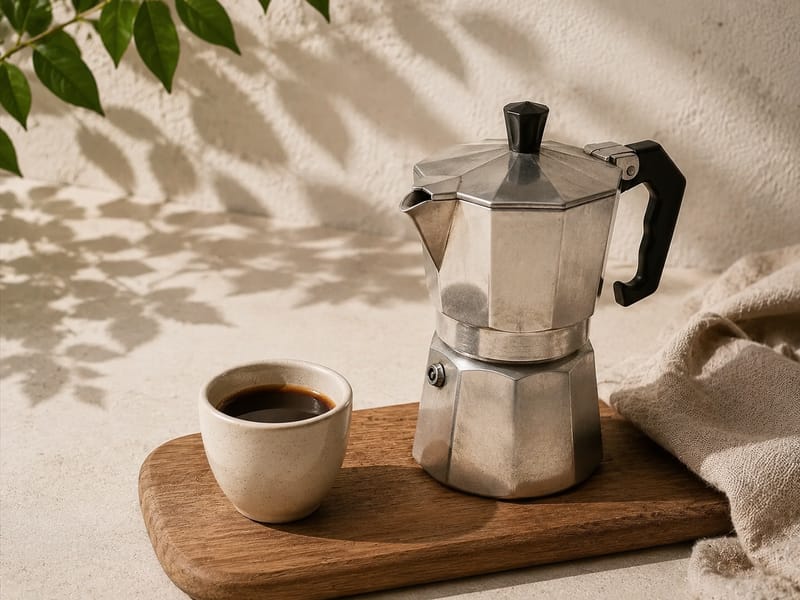
The moka pot is a pressure vessel. Never block, cover or tamp over the safety valve, and never open the pot while it is hot.
The moka pot is the stovetop brewer that put strong coffee in European kitchens for most of a century. Water in the base is heated until steam pressure pushes it up through a basket of coffee and out into the upper chamber. No pump, no filter paper, no electricity.
What comes out is concentrated and full of body, with the roast character well forward. It is excellent with warm milk, which is how a great deal of it is drunk, and it makes two small cups in about five minutes from a cold start.
It is worth being clear about what it is not. A moka pot works at roughly one to two bars, against the nine an espresso machine produces. The coffee is strong and syrupy, but it is not espresso and will not build the same crema. The other constraint is heat: this method punishes a hot stove more than any other on the site.
On this page
Quick start
- Coffee
- 18 g
- Water
- To the safety valve
- Grind
- Medium-fine
- Water temperature
- Preheated water
- Brew time
- 5 min
- Brewer
- 3-cup moka pot
Equipment
Essential
You cannot brew the method properly without these.
- Moka potA 3-cup pot suits the 18 g recipe. Brew the size you own — a half-filled basket brews badly.
- Burr grinderMedium-fine and even. Espresso-fine grounds will choke the basket and raise the pressure.
- Digital scaleFilling the basket by eye works, but weighing it makes a bad brew diagnosable.
- Heat sourceA hob small enough that the flame or ring does not reach past the base.
- KettleFor preheating the water, which is the single biggest improvement to this method.
Useful but optional
These make it easier, not possible.
- Cloth or oven gloveThe base gets genuinely hot. Assembling with preheated water needs one.
- TimerUseful while you learn how your hob and pot behave together.
- Spare gasketA wear part. A hardened gasket leaks steam and weakens the brew.
- Milk pitcherIf most of your moka coffee ends up as a milk drink.
How it works
The moka pot brews with steam pressure. Water in the sealed lower chamber is heated; as it warms, the air and steam above it expand and push down on the surface of the water. The only route out is up the funnel, through the coffee basket and into the upper chamber.
That gives you a brew driven by heat rather than by time. There is no steeping and no pour to control. How fast the water is forced through the coffee depends on how hard you heat the base, and how much resistance the coffee bed offers.
This explains the two rules that matter. Grind medium-fine, not espresso-fine: too much resistance sends the pressure up rather than the water through. And keep the heat low to medium, because a fierce flame pushes water through faster than the coffee can give up anything pleasant, and it heats the empty base towards the end of the brew — which is where the burnt note comes from.
Starting with preheated water shortens the time the pot spends heating up, so the coffee in the basket is not sitting over a warming chamber for several minutes before the brew begins.
Step-by-step technique
The one thing that matters mostTake the pot off the heat when the flow turns pale and starts to hiss. Everything after that point is the bitter, over-extracted end of the brew.
- Boil the kettle and fill the base with hot water up to the safety valve.Never above the valve. Preheated water means the pot reaches brewing pressure quickly instead of slowly stewing the grounds.
- Grind 18 g of coffee at a medium-fine setting.Finer than filter, coarser than espresso. Too fine and the pressure climbs instead of the coffee flowing.
- Fill the basket level and full, then tap it once to settle.Do not tamp. A tamped bed in a moka pot restricts flow and raises pressure, which is the opposite of what this brewer wants.
- Brush loose grounds off the rim and screw the pot together firmly.Grounds on the rim stop the gasket sealing, and steam that escapes sideways never reaches the coffee. Use a cloth — the base is hot.
- Put it on a low to medium heat with the lid open.The open lid is how you see the brew. Low heat gives you time to react before the pot runs away with itself.
- Wait for the coffee to rise in a steady, dark stream.A calm honey-coloured flow means the pressure is right. A violent spurt means the heat is too high; turn it down rather than starting again.
- Take the pot off the heat as the flow turns pale and begins to hiss.The pale liquid is the weak, bitter end of the extraction, and the hiss is steam arriving where coffee used to be.
- Cool the base briefly under a running tap or on a damp cloth.Optional, but it stops the brew immediately instead of letting residual heat push the last harsh liquid through.
- Stir the upper chamber and pour straight away.The first and last coffee out are very different in strength. Stirring gives you an honest cup, and pouring promptly keeps it off the hot metal.
Variables that matter
Change one at a time. Two changes at once tell you nothing about either.
Heat level
- What changes
- Low to medium heat gives a steady flow and a sweeter cup. High heat forces the water through and adds burnt, bitter notes.
- When to reach for it
- This is the first thing to change when the coffee tastes scorched or sputters violently.
Grind size
- What changes
- Finer grinds raise resistance and pressure; coarser grinds let water through faster and weaken the brew.
- When to reach for it
- Adjust when the pot struggles and spits, or when the coffee runs through thin and quickly.
Water temperature at the start
- What changes
- Preheated water shortens the warm-up, so the coffee is not baked above a heating base.
- When to reach for it
- Switch to it if the cup tastes stewed or vaguely burnt even on a low flame.
When you stop the brew
- What changes
- Stopping at the pale stage keeps the cup sweet. Letting it run to a full sputter adds the harshest liquid.
- When to reach for it
- Change this before touching the grind if the last mouthful is noticeably worse than the first.
Adjust by taste
Make the change in the last column, brew again, then taste before changing anything else.
| Result | Likely cause | Change first |
|---|---|---|
| Burnt or scorched | The heat was too high, or the pot stayed on after the brew finished | Lower the heat and take the pot off as the flow turns pale |
| Bitter and harsh | Over-extraction, usually a grind that is too fine for the pressure | Grind one step coarser |
| Sour and thin | Under-extraction — the water passed through too easily | Grind one step finer and check the basket is filled level and full |
| Weak, with a lot of liquid | The basket was underfilled for the pot size | Brew the size the pot is built for, filling the basket completely |
| Steam escapes from the seam | The gasket is worn, or grounds on the rim are breaking the seal | Wipe the rim, tighten firmly, and replace the gasket if it is hard or cracked |
| Coffee spurts violently | Too much heat, too fine a grind, or both | Turn the heat down first, then coarsen the grind if it continues |
Choosing coffee
Medium and medium-dark roasts are the traditional choice and the easiest to get right. The method concentrates whatever is in the coffee, so chocolate, caramel, nut and gentle spice character all come through with plenty of weight behind them.
Light roasts are harder work here. They are dense and less soluble, and the moka pot does not offer the temperature control to coax them open — the result is often sharp rather than bright. If you want to try one, grind slightly finer and keep the heat low.
Very dark, oily beans are popular for moka and do give the classic intense cup, but they are also the quickest to turn bitter. Watch the flow closely and stop early. For milk drinks, a medium-dark roast is the safest choice: it stays recognisable under warm milk without needing to be brewed to the point of harshness.
Troubleshooting
Open the symptom that matches your cup.
The coffee tastes burnt
- Likely cause
- The heat was too high, or the pot stayed on the hob after brewing
- Change first
- Turn the heat down to low or medium and use preheated water
- Check next
- Remove the pot as soon as the stream pales and cool the base
Nothing comes up, or barely a trickle
- Likely cause
- The grind is too fine, or the basket was tamped
- Change first
- Grind coarser and fill the basket level without pressing
- Check next
- Check the filter plate and gasket are not blocked with old grounds
The pot spits and sputters loudly from the start
- Likely cause
- The heat is too high for the pot
- Change first
- Turn the heat down — the flame should not spread past the base
- Check next
- If it continues, coarsen the grind by one step
Steam leaks around the middle seam
- Likely cause
- A worn gasket, or grounds trapped on the rim
- Change first
- Wipe the rim clean and tighten the two halves firmly
- Check next
- Replace the gasket if it is hardened, shiny or cracked
The coffee is weak and watery
- Likely cause
- The basket was not full, or the grind is too coarse
- Change first
- Fill the basket completely and level for the pot size you own
- Check next
- Grind one step finer and check the pot matches the amount you want to brew
There is no crema at all
- Likely cause
- A moka pot brews at one to two bars and does not build espresso crema
- Change first
- Judge the brew on sweetness and body rather than the surface
- Check next
- Use fresher coffee, which produces a little more foam, but expect no more than that
Still not right?
The table above covers the usual faults. If yours is not on it, describe the brew you actually got and the assistant works back to one change — with Moka Potalready selected.
Fix my next brewCleaning and care
After each brew, let the pot cool, then empty the basket and rinse every part with hot water. Traditional advice says never to use soap on aluminium; the more useful point is to rinse thoroughly and dry properly, because trapped moisture is what corrodes the metal and stales the next cup.
Dry all three parts separately and store the pot unscrewed. Screwing a damp pot together traps moisture against the gasket and the seam, and that is where both the smell and the corrosion begin.
Check the gasket and the metal filter plate regularly. The gasket hardens with heat and stops sealing, and the small holes in the plate clog with old grounds — hold it up to a light and clear any that are blocked. Both parts are inexpensive and both restore the brew more effectively than changing coffee. Inspect the safety valve at the same time and keep it clear.
Recipes with this method
Put the method into practice with one of these tested KAVOVO recipes.